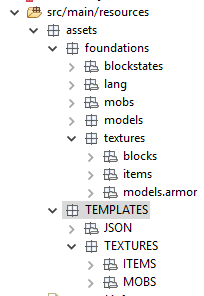
If your texture does not look like how you made it then close out of Minecraft and navigate to where your texture is stored in Eclipse. Take a look at the folders. Are you inside of the Templates folder or the Foundations folder? The textures that will show up in game are in the Foundations folder.

Navigate into the correct folder that is inside of the Foundations folder then open up the texture for your item or block. If the texture does not look like the one you made, then you were editing the template file. To fix this we are going to switch the two files. Right click on the texture file from the templates folder and then select cut. Right click on the folder inside of foundations (if it's an item right click on items, if it's an block click on block, etc.) then click click on paste. Now right click on the file that was not edited and click cut and then paste it into the folder where we found the other file. If the names of the two files were different, then that will need to change as well.
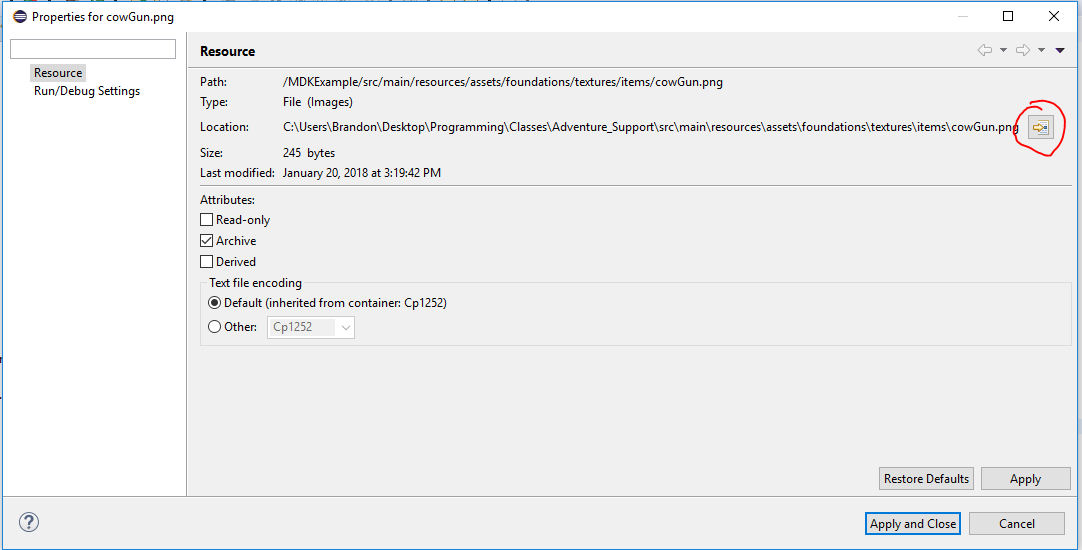
Right click on the file that is now inside of the foundations folder and then click on properties.

This window will pop up and then click on the circled button. A new window will appear from there.

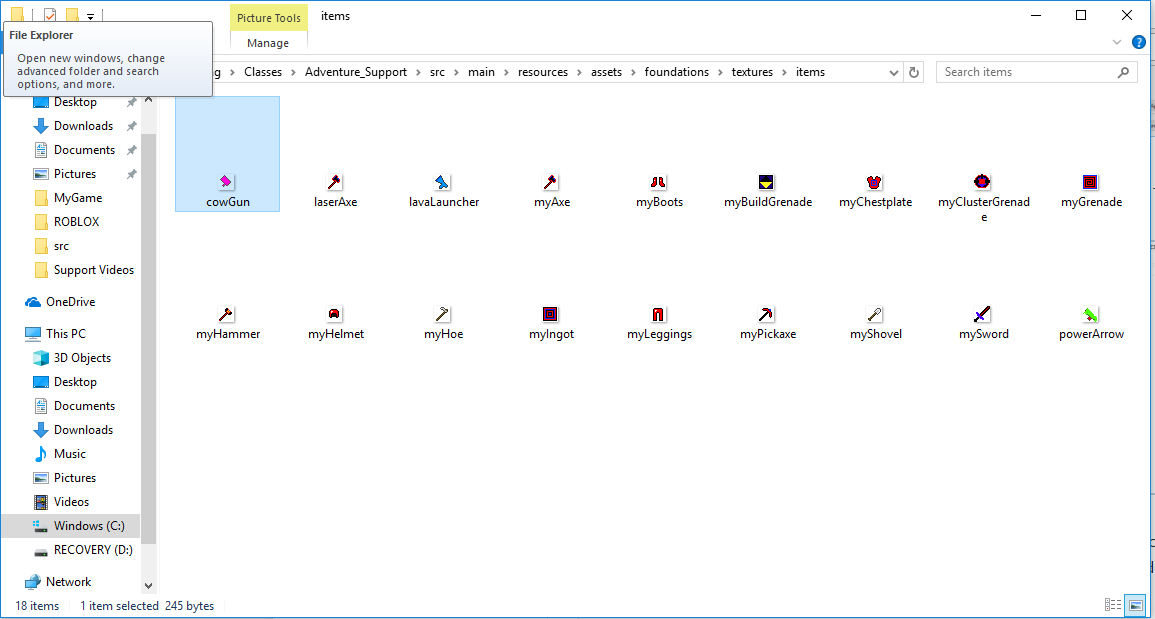
Left click the file that you are going to rename then right click it and select rename. Type in the unlocalized name that you set inside of your class file and then close both of the windows that opened. Now you can run Minecraft and your texture should be fixed.
If this did not resolve your issue, and you are on a Mac, go here.
Otherwise, reply to this article and ask for further help. Our support team will be happy to assist you with this issue.

Comments
0 comments
Please sign in to leave a comment.